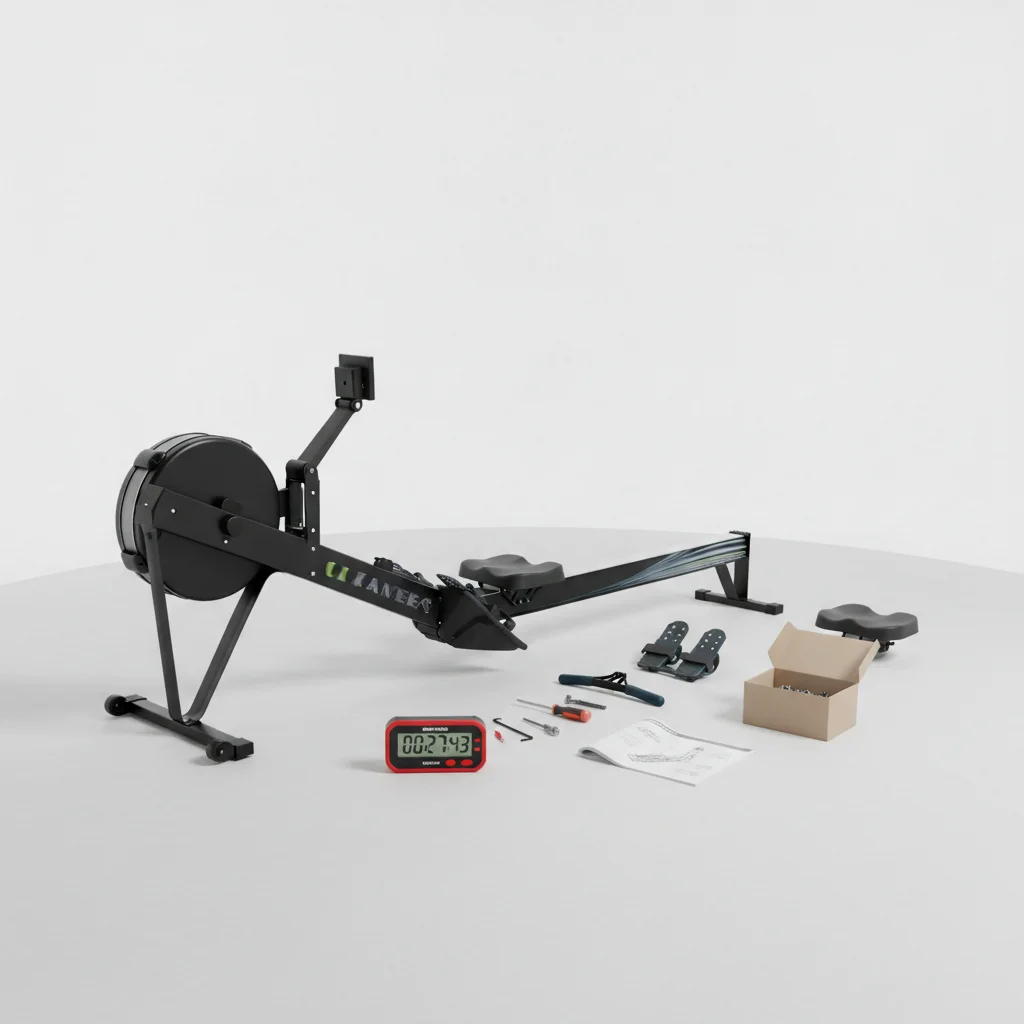
Assembling a rowing machine typically takes between 30 minutes to 2 hours, depending on the model’s complexity and your DIY experience. While some compact models can be ready in under an hour, more advanced machines with intricate components or smart features may require a longer, more detailed setup process.
Factors Influencing Assembly Duration
Several elements contribute to how long you’ll spend putting your new rower together. The type of resistance system (air, magnetic, water) often dictates the number of parts and the complexity of their integration. Water rowers, for instance, require careful filling of the tank, which adds to the overall time. Magnetic and air rowers might have fewer steps but could involve more precise alignment of moving parts. For see our home fitness recommendations on this site.
The manufacturer’s instructions also play a crucial role. Well-written, clear manuals with diagrams can significantly reduce assembly time, while vague or poorly translated guides can lead to frustration and delays. Always review the entire manual before starting to familiarize yourself with the steps and ensure all parts are present.
Tools and Preparation for Efficient Assembly
Most rowing machines come with the necessary basic tools, such as Allen wrenches and a simple spanner. However, having your own set of screwdrivers, a rubber mallet, and perhaps a socket wrench can make the process smoother and faster. A well-lit, spacious area is essential for laying out all components and having room to maneuver the machine during assembly.
Before you begin, unbox all parts and check them against the inventory list provided in the manual. This helps identify any missing or damaged components early, preventing interruptions later. Organize the parts by step or type to streamline the process.
- Confirm all parts are present against the manual’s list.
- Clear a spacious, well-lit area for assembly.
- Have your own basic toolkit ready (screwdrivers, mallet).
- Read the entire instruction manual before starting.
- Consider a second person for larger, heavier components.
Common Assembly Challenges and Solutions
|
Our Picks for the Best Rowing Machine in 2026
As an Amazon Associate I earn from qualifying purchases.
|
||
| Num | Product | Action |
|---|---|---|
| 1 | Rowing Machines for Home,Water Rowing Machine with Foldable Design,400LBS Capacity,LCD Monitor,Smooth Glide Rails,Comfortable Seat,Free App(Bluetooth) Supported for Immersive Water Rower&Home Gym |

|
| 2 | MERACH Rowing Machines for Home, Magnetic Rowing Machine with 16 Levels, Rower Machine of Quiet Resistance, Dual Slide Rail with Max 350lbs Weight Capacity, App Compatible |
|
| 3 | Rowing Machines for Home, 16 Level Adjustable Resistance, Magnetic Rowing Machine with App Supported, 350 LB Weight Capacity, Upgraded Dual Slide Rails with LCD Data Display Screen |
|
| 4 | Rowing Machine for Home, Magnetic Rower Machine, 350 LB Weight Capacity, 16-Level Silent Resistance Row Machine for Gym Exercise Full-Body Workout Compact Rower with LCD Monitor Tablet Holder |
|
| 5 | Rowing Machine Magnetic Rower with 16 Resistance Levels, Quiet Home Rowing Machine for Cardio Training, APP Connection, 160 kg Load Capacity, Vertical Storage |
|
| 6 | Rowing Machine,Wenoker Magnetic Rower Machine for Home,App Supported 350 LB Weight Capacity, Smooth Whisper Quiet with LCD Monitor Tablet Holder & Comfortable Seat Cushion, Compact and Saves Space |
|
| 7 | Foldable Rowing Machines for Home with Adjustable Large Water Tank & Comfortable Seat for Real Experience Immersive Water Rower, APP Link,Joint 0 Impact 330LBS Weight Capacity; |
|
| 8 | Rowing Machine,Wenoker Magnetic Rower Machine for Home,App Supported 350 LB Weight Capacity, Smooth Whisper Quiet with LCD Monitor Tablet Holder & Comfortable Seat Cushion, Compact and Saves Space |
|
| 9 | Rowing Machine for Home, 16 Resistance Levels, Quiet Magnetic Rower with APP, 350 LB Weight Capacity, Easy Assembly, Compact and Saves Space |
|
| 10 | Rowing Machine for Home, 350 LB Capacity, 16-Level Silent Resistance, Magnetic Rowing Machines for Home Foldable, Full-Body Workout Compact Rowing Machine for Cardio & Strength with APP Support |
|
One frequent challenge is attaching the monitor or console, which often involves delicate wiring. Ensure all cables are securely connected and not pinched during installation. Another common hurdle is aligning the seat rail or main frame components; sometimes, a gentle wiggle or a second pair of hands can help these pieces slide into place more easily.
Tightening bolts and screws correctly is vital for both safety and the machine’s longevity. Avoid over-tightening, which can strip threads, but ensure they are snug enough to prevent wobbling. If you encounter a particularly stubborn part, refer to the troubleshooting section of your manual or search for assembly videos online specific to your model.
Post-Assembly Checks and First Use
Once assembled, perform a thorough check of all connections. Ensure all bolts are tightened, the seat glides smoothly, and the foot straps are securely attached. Test the resistance mechanism and the monitor’s functionality before your first full workout. This final inspection ensures the machine is safe and ready for use.
Your first few strokes should be gentle, allowing you to get a feel for the machine and confirm everything is operating as expected. If you notice any unusual noises or movements, stop and re-check the relevant sections of the assembly guide. Proper assembly is key to enjoying a safe and effective rowing workout for years to come.
Equipment that holds up past 60 sessions
Free PDF — 60-session wear log template + 5 treadmills compared.
